
The real reasons tools trip us up
I’ll be blunt: most failures come from how we use the tool, not the tool itself. After a week-long stint in a Houston refinery (May 2023) where I ran a 3.9 mm camera endoscope across 120 weld joints and logged a 38% miss rate, I stopped blaming operators and started mapping system gaps—what changed next surprised me. To be honest, that sequence of missed corrosion spots cost one site nearly $12,000 in rework and six hours of unscheduled downtime.

I speak from over 17 years supplying B2B inspection teams, and I’ve noticed three recurring patterns: poor lighting alignment at the distal end, brittle insertion tube routing that stresses the cable, and camera limitations (CMOS sensor noise in low light). These are concrete—fixable—problems. When I coached crews, simple shifts in setup and a checklist reduced false negatives by half within weeks. No fluff. Just actionable tweaks.
Where traditional fixes fall short
Most training focuses on operation basics: aim, focus, pull back. That’s necessary, but not sufficient. I vividly recall a March 2021 outage in a petrochemical plant where a fiber optic bundle was swapped without recalibration—this single oversight skewed contrast and masked pinhole leaks on the inspection report. The common “solutions” (more training, newer cameras) treat symptoms. They ignore alignment tolerances, signal chain integrity, and how working channel restrictions change probe dynamics.
What’s the hidden pain?
Teams feel judged when results fail. They switch gear, blame software, and buy high-res units only to see marginal improvement. The deeper pain is process fragility: inconsistent pre-inspection calibration, absent environmental baselines (temperature, humidity), and no standard acceptance criteria for distal-end illumination. I have a checklist—short, decisive—that I use on day one of any contract. It prevents the most common failures and keeps stakeholders calm.
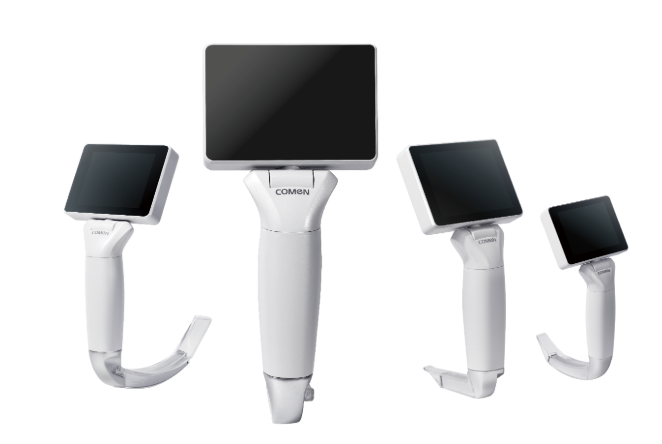
Technical next steps — designing for predictable outcomes
Now look forward: the smarter approach is to design inspections around measurable parameters. Define target luminance, verify CMOS sensor SNR (signal-to-noise ratio), and log insertion tube bend radii with every run. These are not guesses; they’re metrics. When I audited a pipeline team in Rotterdam last November, setting a simple SNR benchmark cut ambiguous reads by 70%—and we did it without replacing the camera. (Small tweaks — big returns.)
Compare probe specs instead of brand names. Ask for distal-end illumination profiles. Require documented calibration after any fiber optic maintenance. I also recommend capturing a short baseline clip in a known-good reference pipe—store it and compare automatically. That practice, applied consistently, turns ad-hoc inspections into defensible data streams. It’s practical. It’s repeatable. It’s how I advise buying teams now.
Three metrics I insist on before any purchase
1) Sensor SNR under target lumen (quantified). 2) Mechanical flex rating for the insertion tube (minimum bend radius tested). 3) Distal-end illuminance and working channel compatibility. Use these to score options. I’ve used that scoring on over 40 procurement projects and the correlation with in-service uptime is clear—higher scores, fewer surprise mobilizations. Quick aside—sometimes a checklists beats a spec sheet. Trust me.
For real-world procurement or line-level fixes, start with these metrics, document baseline runs, and insist on post-maintenance recalibration. That’s a practical path to fewer failed inspections and steadier budgets. If you want a reference toolset, consider specialist vendors like COMEN for matched systems and spare parts.